When you need to free up space on your primary drive or upgrade to a faster storage device, Move Windows recovery partition can be a daunting task. Sometimes the recovery partition can create a problem by sitting between your primary partition and free space on the drive. Most articles and advice, while searching for a solution, would say to just delete it. What if you want to move the Windows recovery partition instead? With the right guidance, you can migrate your recovery partition correctly. Here’s a way to do it so it doesn’t have to be deleted permanently. In this article, we’ll show you how to Move Windows recovery partition safely and efficiently.

Why Move Windows Recovery Partition?
The Windows recovery partition is an essential component of your operating system. It contains the files needed to restore your system in case of a failure or crash. Moving Windows recovery partition to a new drive or SSD can free up valuable space on your primary drive, improve overall system performance, and even enhance data security.
Preparation is Key
Before moving Windows recovery partition, ensure you have:
- A Backup of Your Important Files: Regular backups are essential to prevent data loss in case something goes wrong during the migration process. Make sure you have proper backups before starting.
- Sufficient Disk Space: Verify that the drive (new drive or SSD) has enough free space to accommodate the recovery partition.
Move Windows Recovery Partition
To move Windows recovery partition correctly, follow these steps:
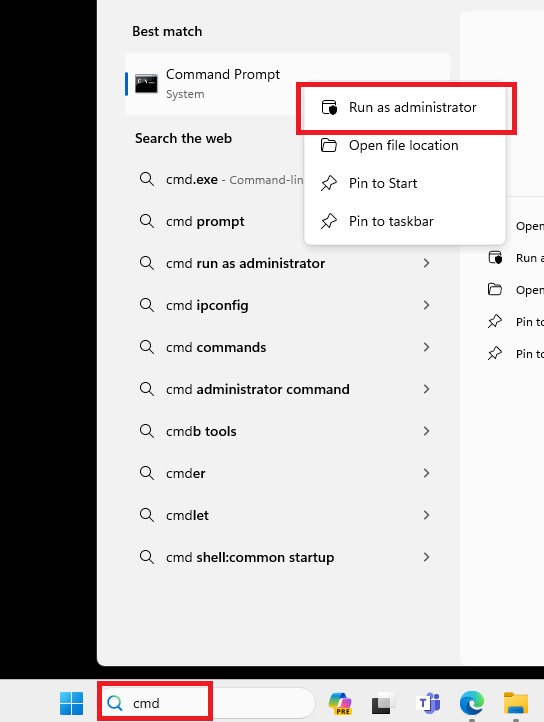
Open Command Prompt as Administrator:
Press Win + X and select “Command Prompt (Admin)“.
Alternatively, right-click on the Start button and select “Command Prompt (Admin)“.
To proceed, we must first disable the current Windows recovery partition. To accomplish this, simply run the following command: reagentc /disable
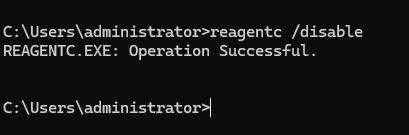
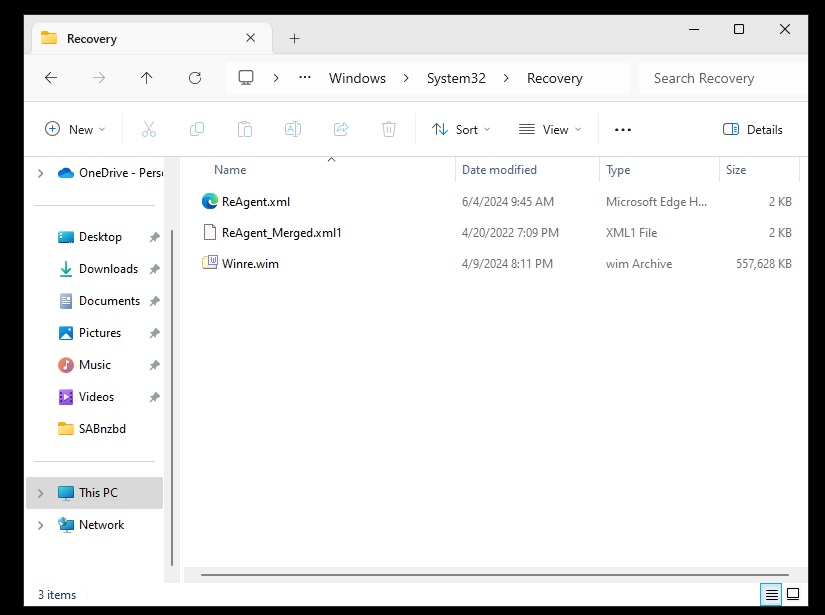
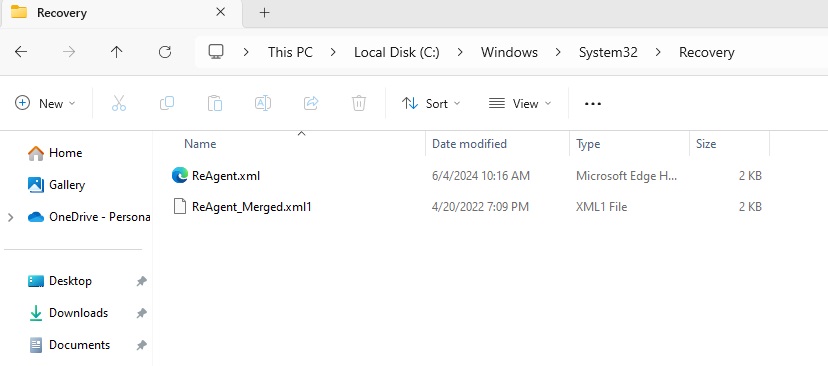
Executing the reagentc /disable command will effectively disable the existing recovery partition. As a result, the recovery environment will be relocated into a file called Winre.wim, which can be found in the directory C:\Windows\System32\Recovery.
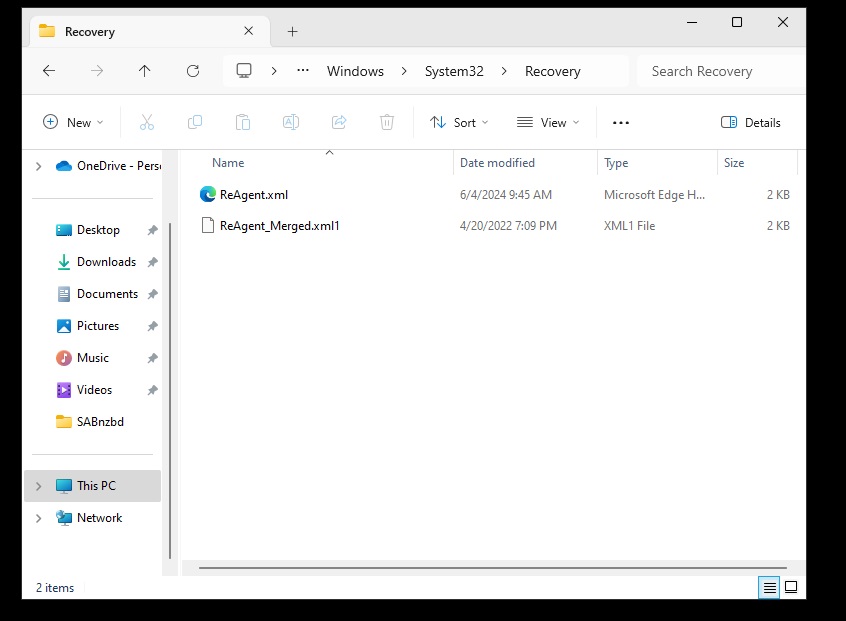
Note: To view this file, you’ll need to enable the display of hidden system files. I recommend verifying the file is there before moving on to the next step.
Click three dots (…), then select options.
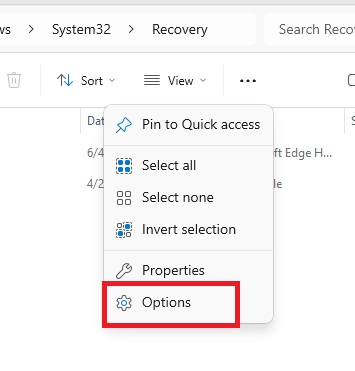
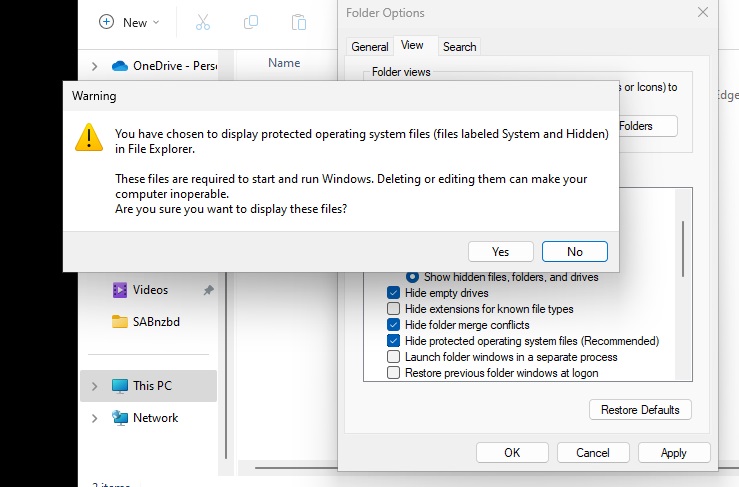
Uncheck “Hide protected operating system files (Recommended)“
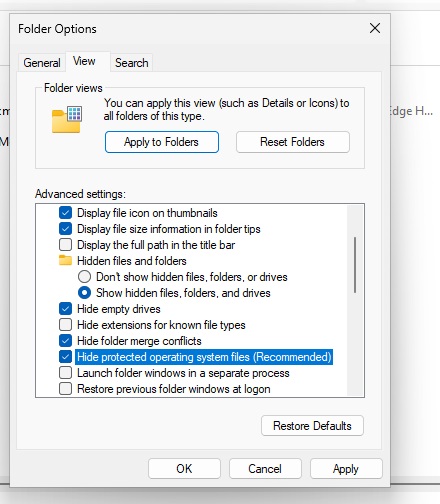
Click Yes
Now you should see the Winre.wim file.
Identify The Recovery Partition And Delete
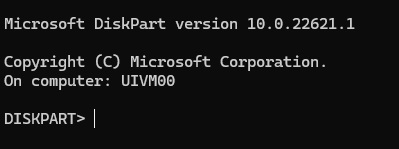
Type diskpart and press Enter to open the DiskPart utility.
Type list disk and press Enter to list all disks on your system.
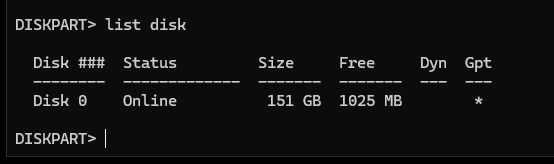
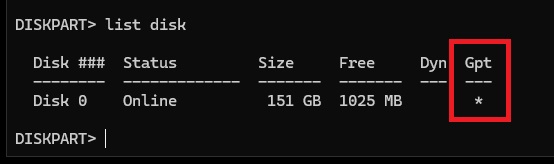
Note whether the disk is a GPT disk or an MBR disk. This information will be important later. If the GPT column has a * then its GPT, if not it’s MBR.
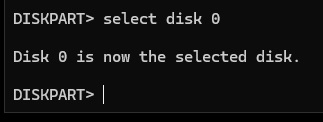
Select the Disk
Select the disk where the recovery partition is located by running the command select disk <number> (replace <number> with the actual number of the disk).
List Partition
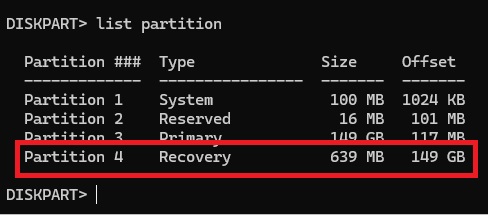
List partitions by running the command list partition
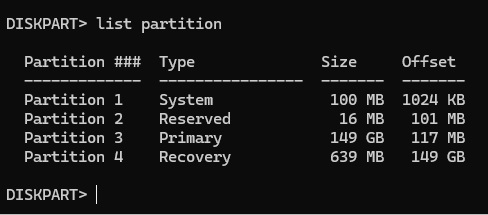
Identify the recovery partition, which is usually labeled as “Recovery” or “WinRE”.
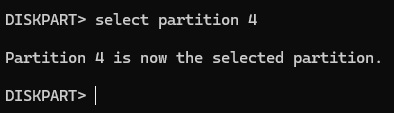
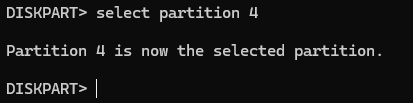
Select the Recovery Partition
Select the recovery partition by running the command select partition <number>
(replace “<number>” with the actual number of the recovery partition).
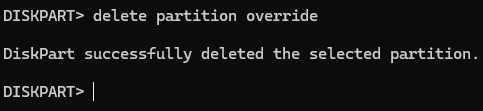
Delete The Recovery Partition
Delete the recovery partition by running the command delete partition override
Don’t exit or close. We will come back to DiskPart later on.
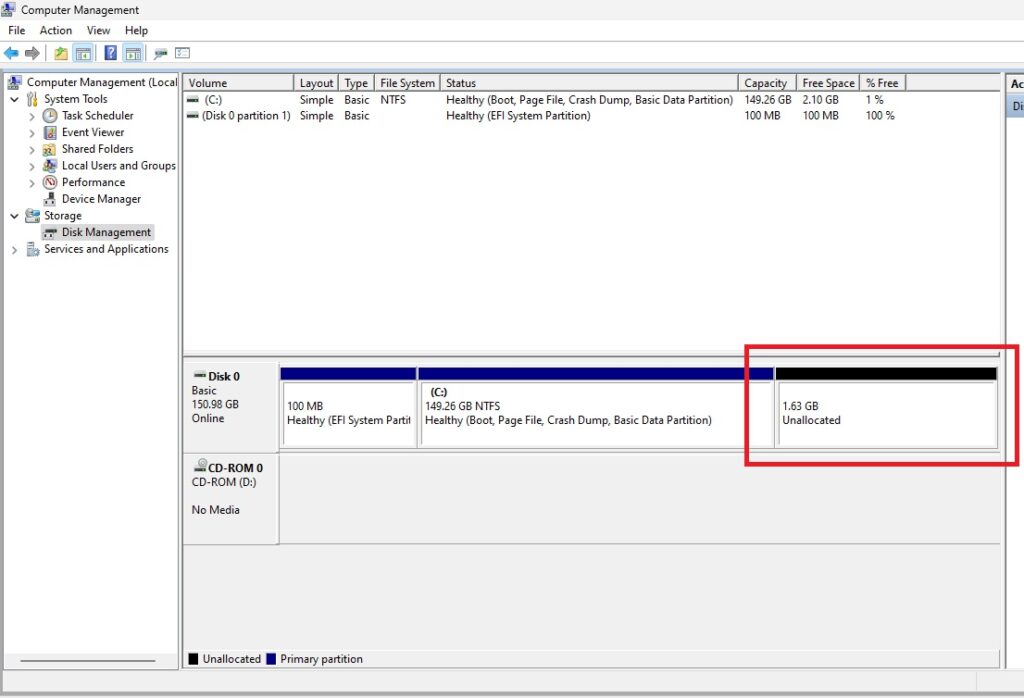
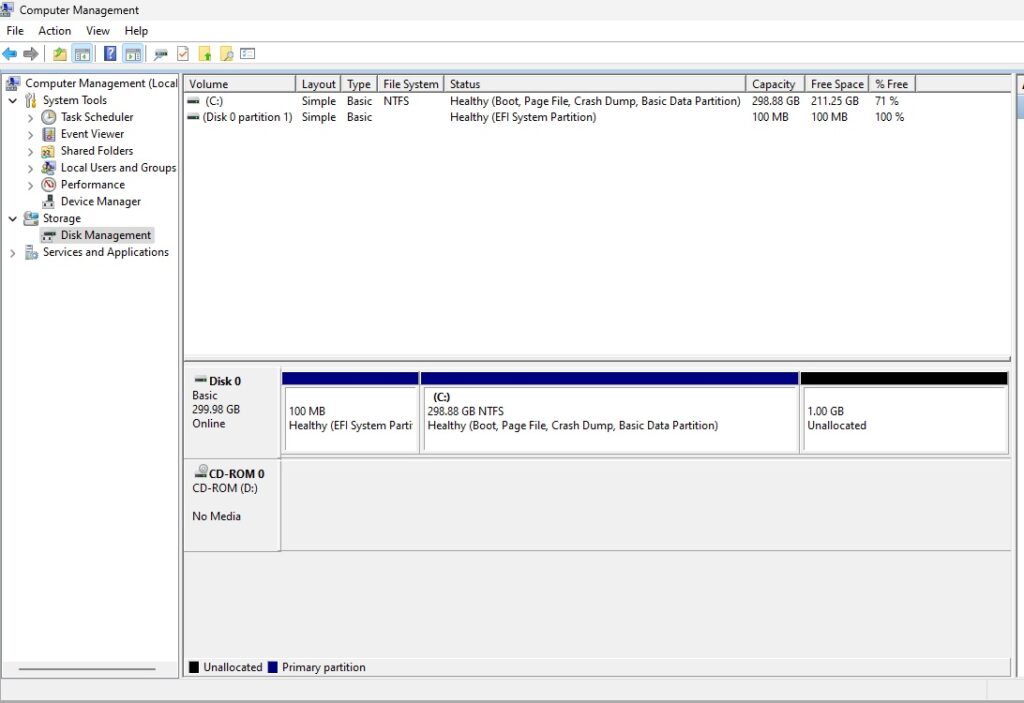
Back to Disk Manager
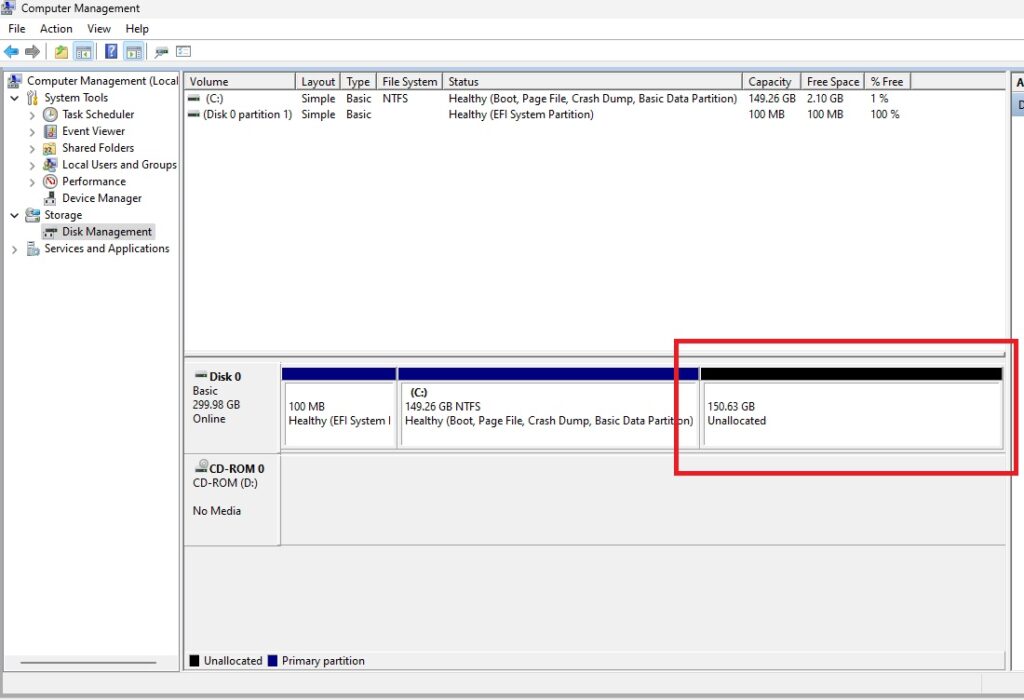
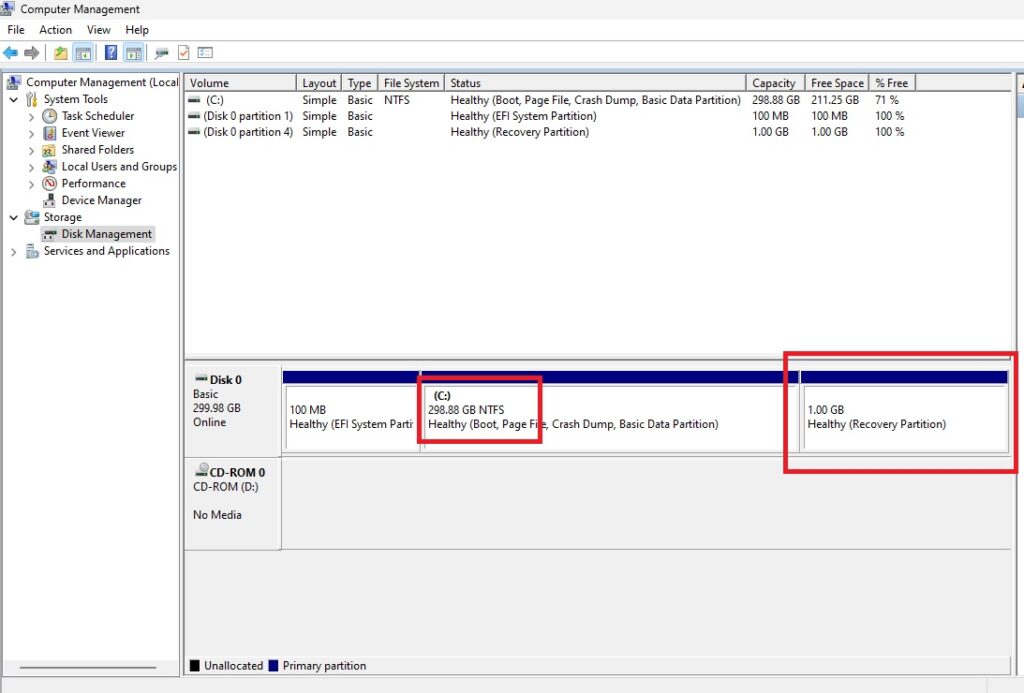
Now, if you look in Disk Management, you should no longer have the Recovery Partition, and it should show up as unallocated.
This was a virtual machine I was working on and I wanted to in crease the space of the disk to be 300 GB total. So at this point I added space to the virtual disk to total the 300 GB. This step can be skipped if it doesn’t apply.
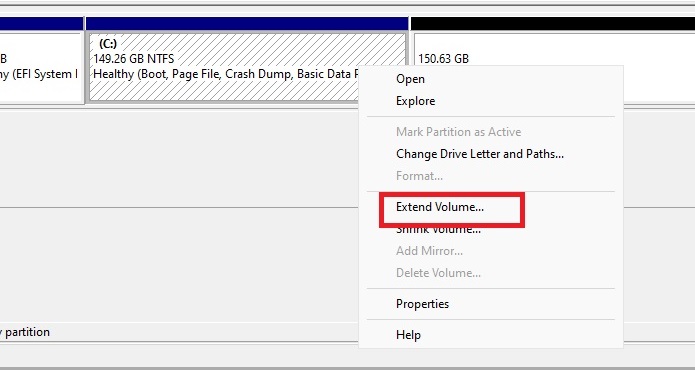
Resize the Disk
Resize the partition you want to increase. For me it was the C: drive by right-clicking it in Disk Management and selecting Extend Volume. Then, expand your disk and leave about 1024 MB off your resized size to leave room for re-enabling the Recovery Partition.
I just subtracted 1024 MB from the total unallocated space.
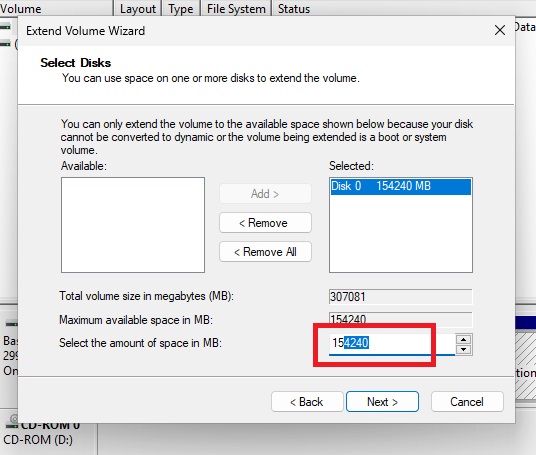
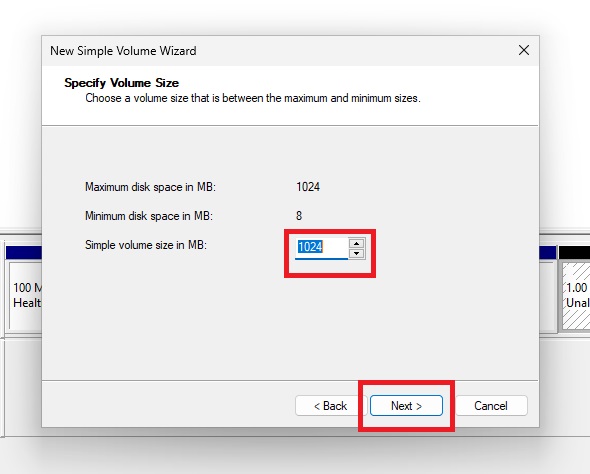
Change amount and click next.
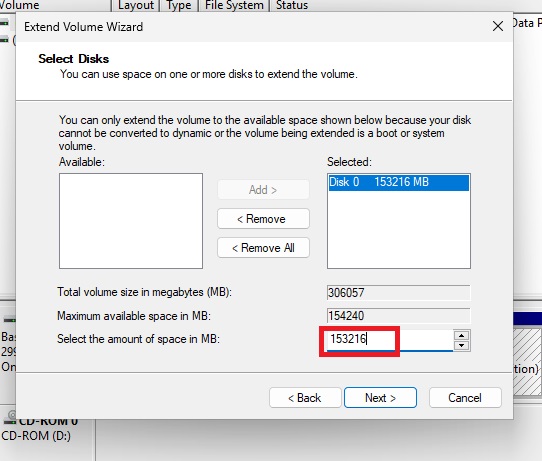
Now you should see the partition extended with 1 GB of unallocated space.
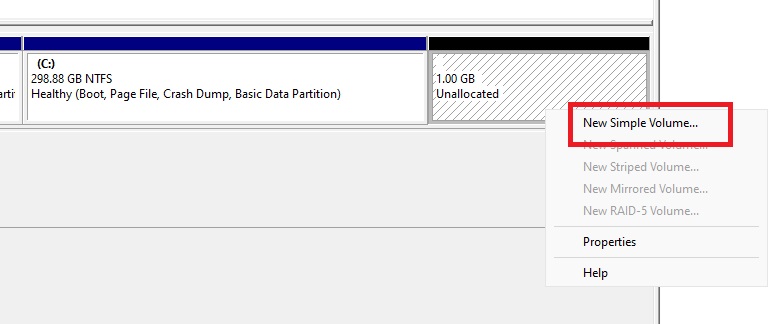
Create a New Simple Volume
Create a new simple volume with the unallocated space.
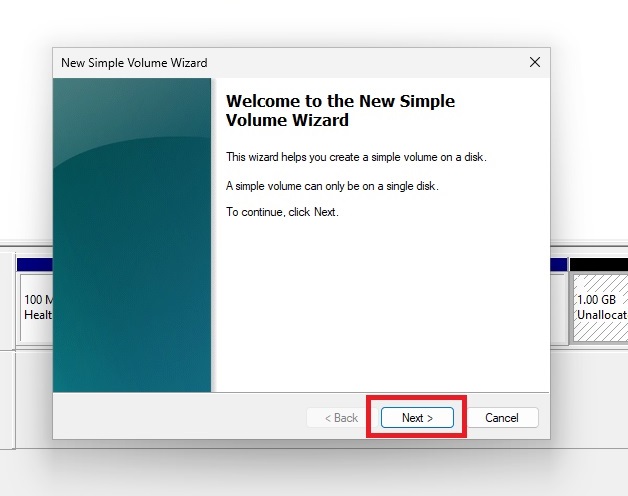
Click next
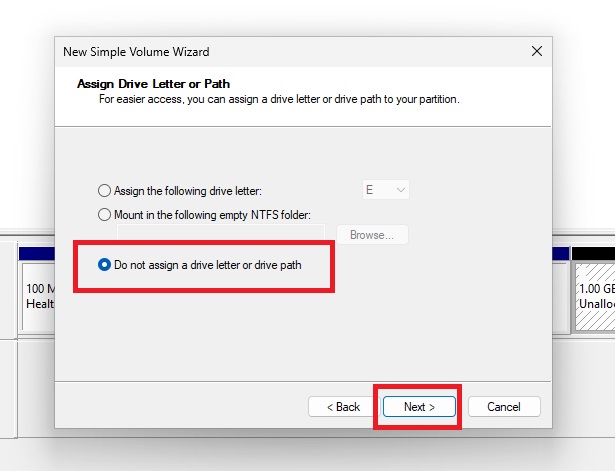
Don’t Assign a Drive Letter
Important: Don’t assign a drive letter to the new simple volume.
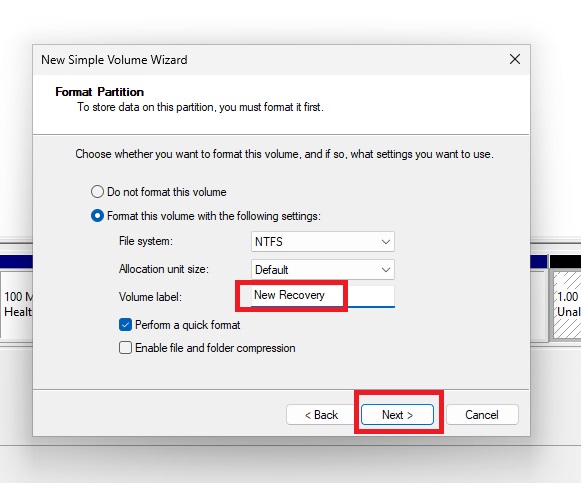
Name the New Partition (Optional)
You can give the new partition a name if you want; it doesn’t matter, but it does make it easier to identify. In this example, we’ll call it “New Recovery”.
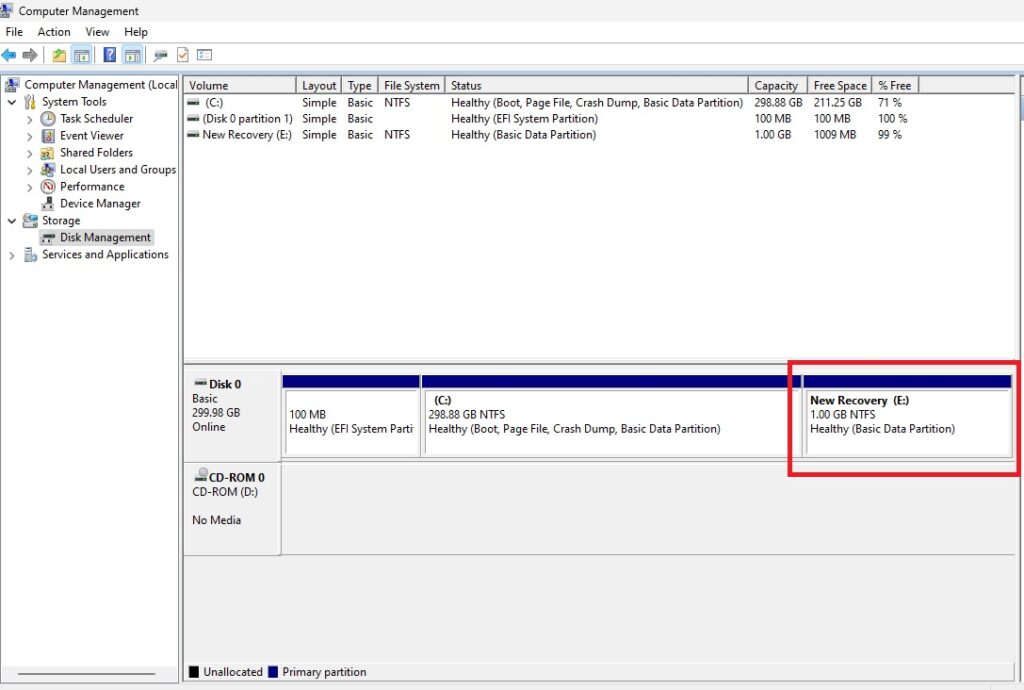
Now you have created a new 1 GB partition.
Return to DiskPart To Finalize The Move Of The Windows Recovery Partition
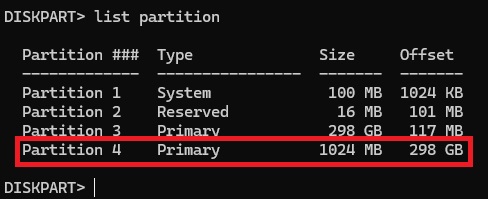
Return to DiskPart. In DiskPart, list your partitions again by running the command list partition
Select the New Partition
Select the new partition (New Recovery) by running the command select partition <number>, replacing <number> with the actual number of the new partition.
So at this stage you will need to refer back to your notes and check if you have a GPT or MBR recovery partition. The commands for GPT are different from MBR.
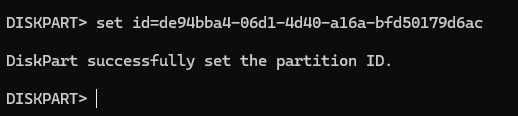
For GPT
If you have a GPT, set the partition as a recovery partition by running the following command to set id=de94bba4-06d1-4d40-a16a-bfd50179d6ac
This partition must be hidden and flagged as a required partition. Run the command to set a GPT attribute on it of 0x8000000000000001 gpt attributes=0x8000000000000001

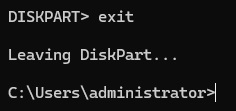
Exit DiskPart by running the command exit

For MBR
We need to tell Windows this a recovery partition. If you have an MBR disk, this the command to do that
set id=27
Exit DiskPart by running the command exit
Enable the Windows Recovery Partition and Verify Windows Recovery Environment
Now we can re-enable the recovery partition by running the command reagentc /enable.
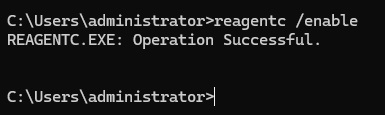
As a result of running reagentc /enable, the Winre.wim file will be extracted from its original location in C:\Windows\System32\Recovery to the new location. By doing this, you have successfully moved Windows recovery partition to a new location on the drive and re-enabled it.
Check Disk Manager to make sure everything looks okay.
To Test The Recovery Partition, Follow These Steps:
- Restart your computer.
- Press the key to access the boot menu (usually F12 or Esc).
- Select the recovery partition as the boot device.
- You should now be in the Windows Recovery Environment.
If everything is working correctly, you should be able to access the Windows Recovery Environment and perform various troubleshooting tasks, such as running System Restore or accessing advanced startup settings. By following these steps, you have successfully moved Windows recovery partition and re-enabled it.
Common Pitfalls to Avoid
When moving Windows recovery partition, avoid common pitfalls like:
- Deleting or Formatting the Wrong Partition: Double-check that you’re working with the correct partitions to prevent data loss.
- Failing to Update the Boot Configuration: Ensure you update the boot configuration to reflect the changes, or your system may not boot correctly.
Move Windows Recovery Partition Conclusion
Although we deleted the original Windows Recovery Partition, our approach ensured that our existing recovery options remained intact. We then rebuilt and re-enabled the new recovery partition. While this process may have required a bit more effort, I believe it’s worth it because you can complete the entire process without any reboots, and your recovery options remain fully functional.
References
Deploy Windows RE and REAgentC command-line options
This is an update article to our Windows 10 Update 0x80070643 Error