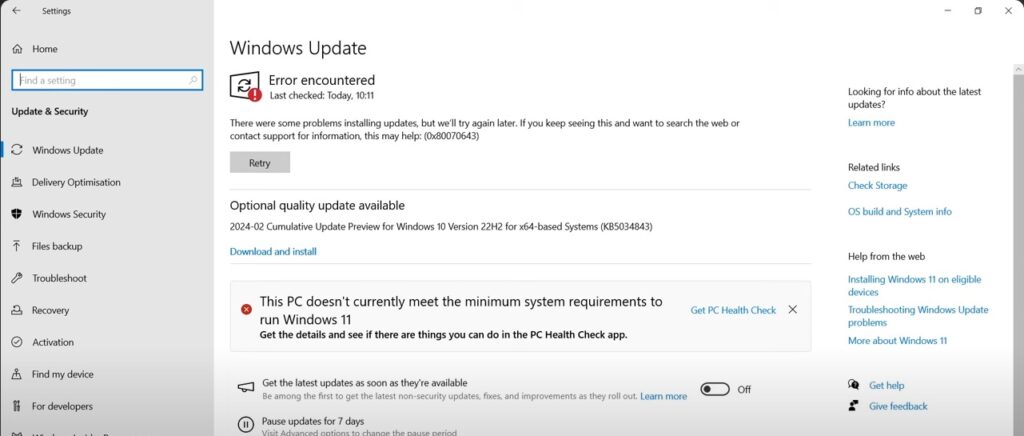
After attempting a Windows 10 Update 0x80070643 Error. For me it was usually when trying to update to Windows 10 Version 22h2, or updating from Windows 10 to Windows 11. Here are the steps to take to get the Windows updates working again and eliminate the Windows 10 Update 0x80070643 Error message. Before starting please make sure to make full backups just in case.
Windows 10 Update 0x80070643 Error Resolution
Lets take a look at the disk management.
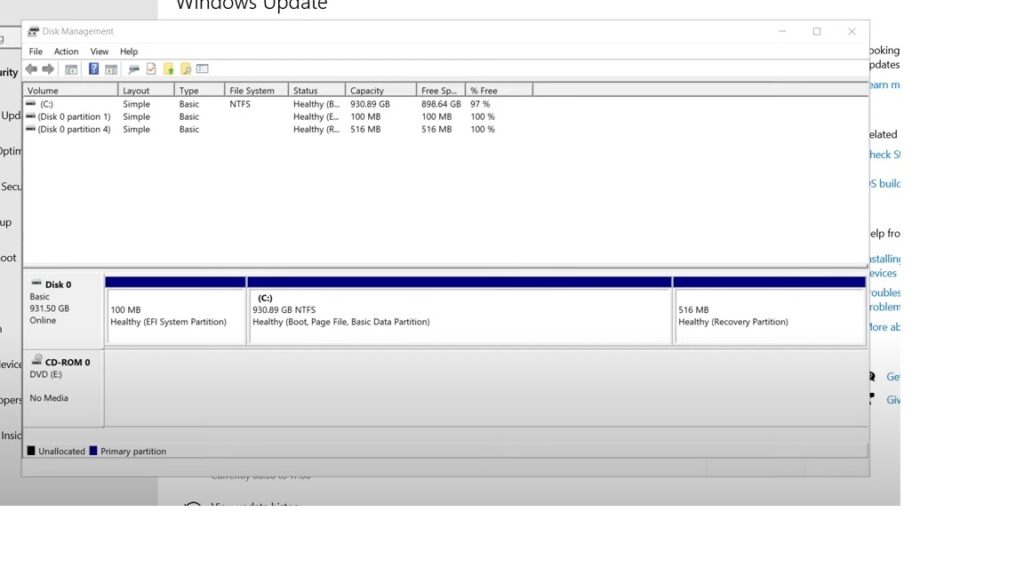
If you notice the Recovery Partition in this case is only 516MB. The error in Windows update seems to be caused by insufficient space on this partition. We need to increase the size to 750MB or greater.
Prep to resize the Recovery Partition
In most cases the drive will be fully used, so we will have to make room to accommodate for increasing the size of the Recovery Partition. In the disk manager right click on the primary partition (in this case its c:), or the partition to either side of the Recovery Partition, then select “Shrink Volume“. You want to select a partition that you can take space from to reassign it to the Recovery Partition. In this instance its the C: drive.
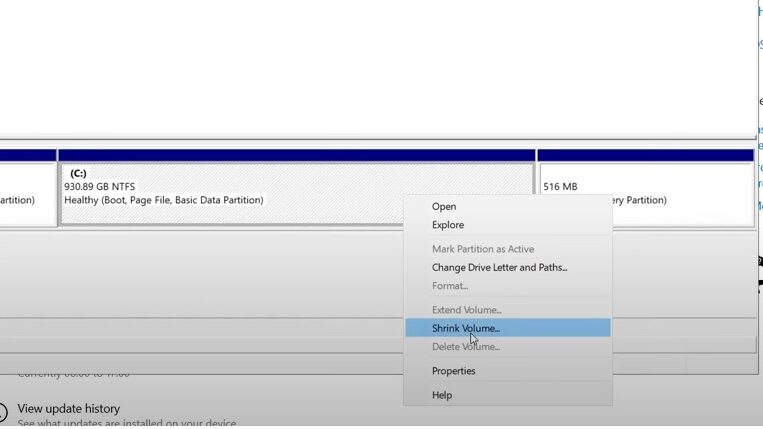
Next a window will appear asking how much to shrink the drive. Because we need 750MB, and the current size of the recovery partition is 516MB, I will shrink the C: by 250MB. I’m giving just a bit more to make sure I have 750MB or more.

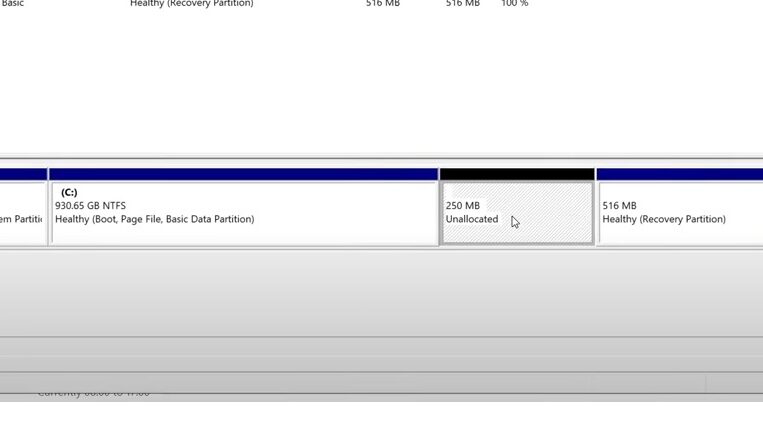
Click shrink. Once it complete you should see a new “Unallocated” partition available.
Lets move to the command prompt
Open a command prompt and make sure to run it as an administrator.
At the prompt lets run:
reagentc /disable
You should get a SUCCESSFUL output.
Still on the prompt, lets run:
diskpart
Then:
list disk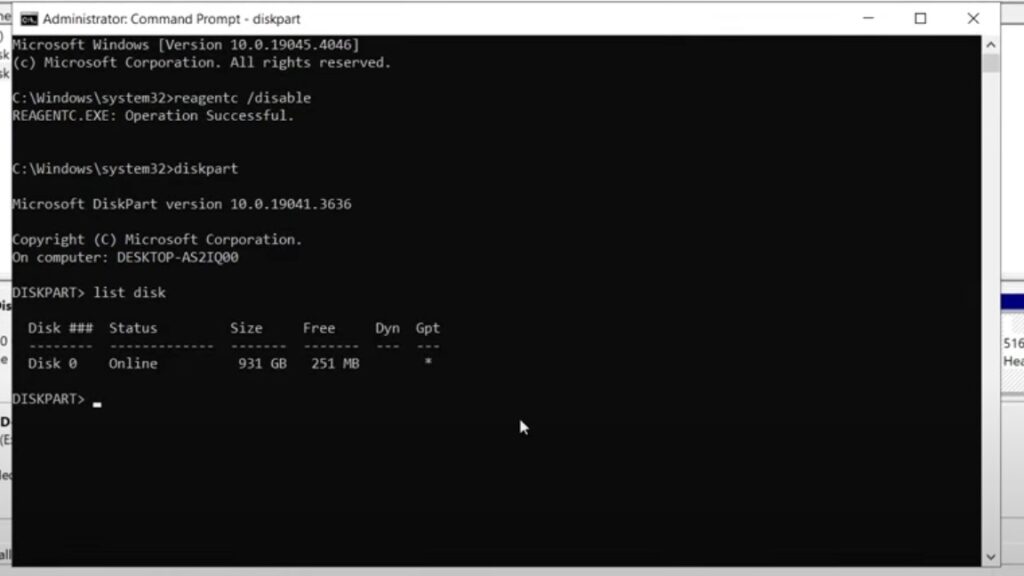
Lets select the primary drive, which in this case would be Disk 0
select disk 0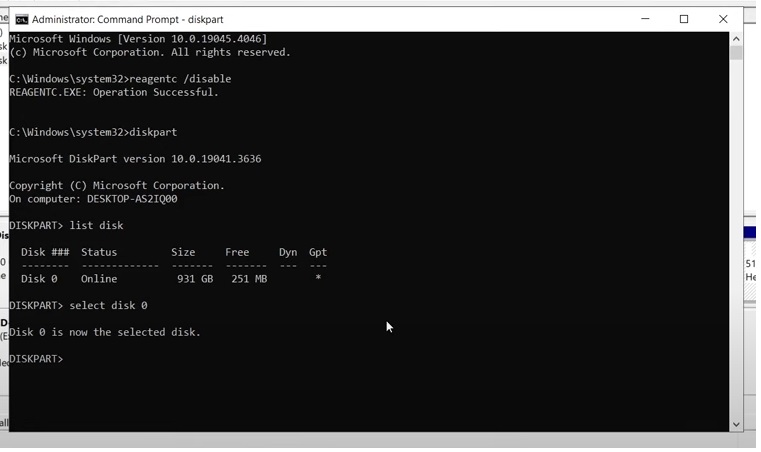
Next
list part
At this point you want to select the “Recovery” partition. For this tutorial its Partition 4.
sel part 4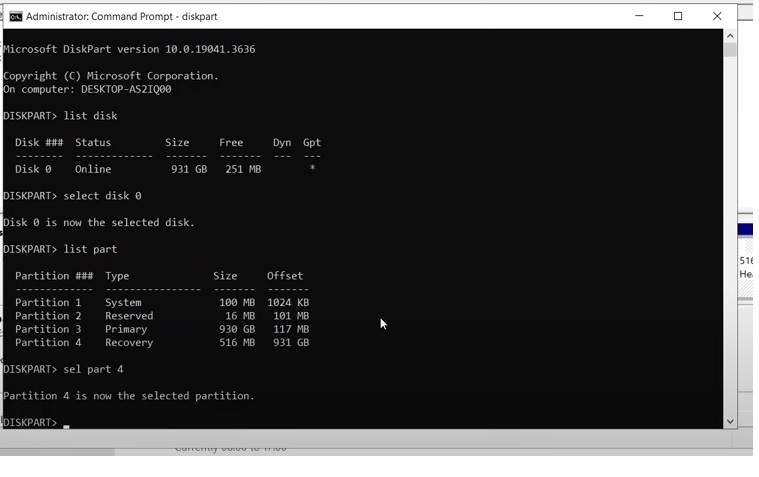
Next we want to remove the Recovery partition, so lets delete it.
delete partition override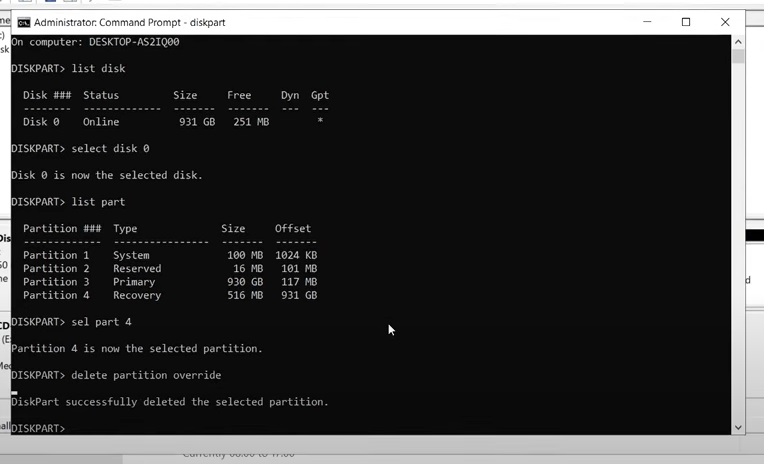
Lets go back to the disk manager, but do not close the command prompt. We’ll be coming back to it shortly.
Once back at the disk manager you will notice there’s now Unallocated partition that has replaced the previous Unallocated and Recovery Partitions.
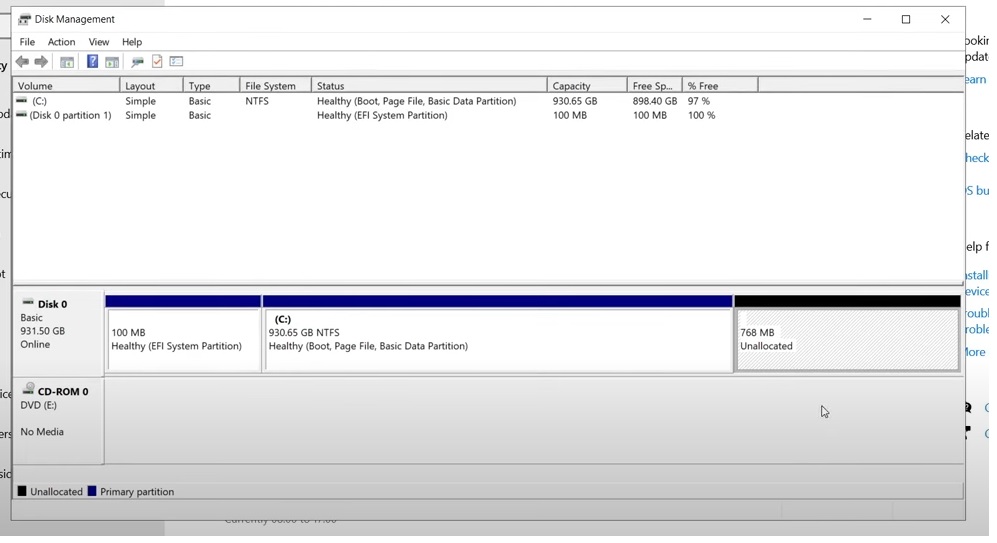
From here lets recreate that Recovery Partition. Right click on the Unallocated partition and select “New Simple Volume“.
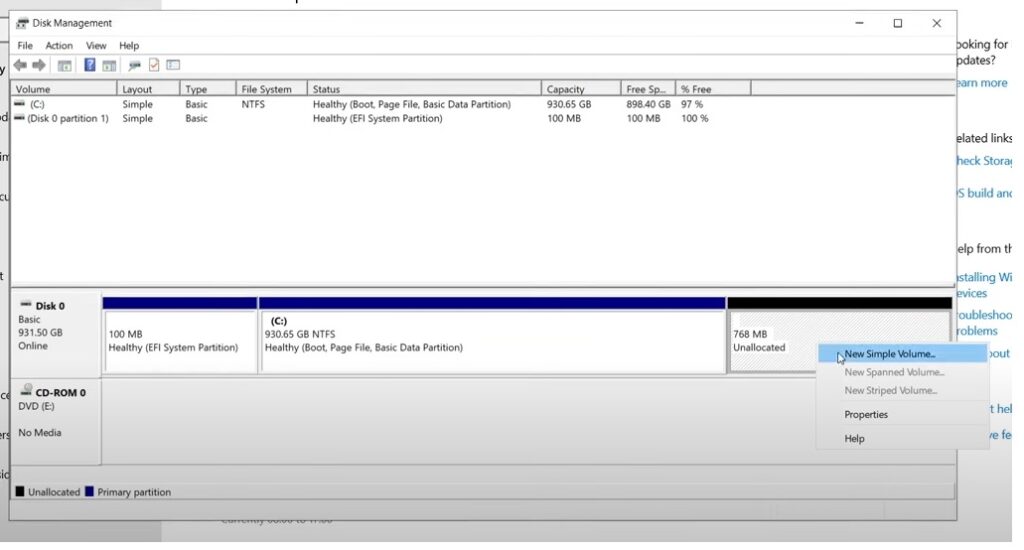

The wizard will use the full size of available space.
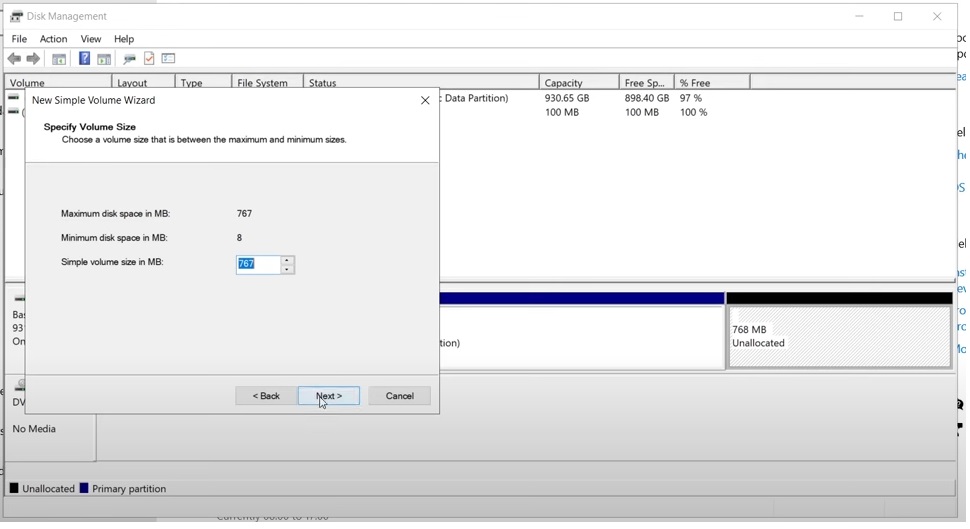
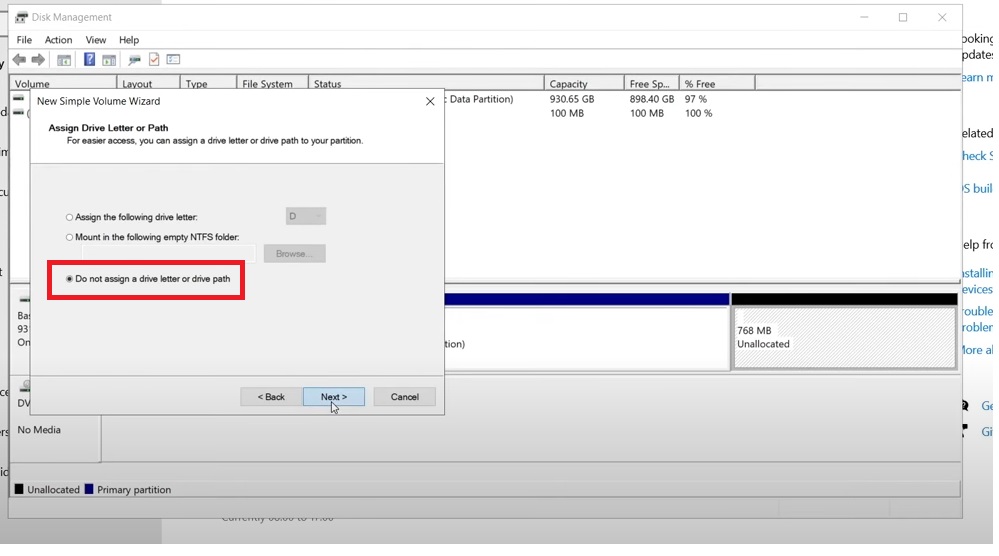
You really want to make sure in the next step to select the option “Do not assign a drive letter or drive path“.
Name the new Volume “WinRE“. See picture below.
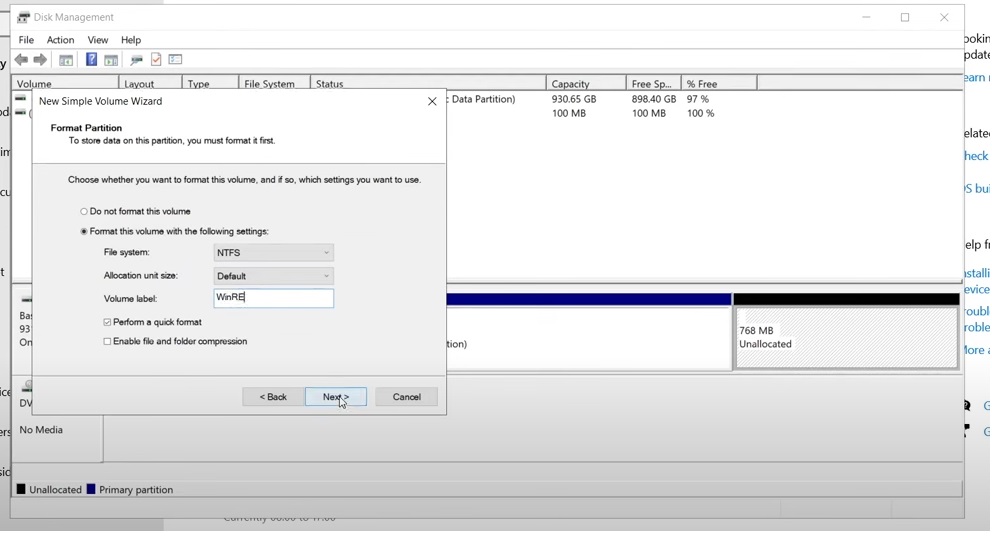
Now click “Finish“

A new “Healthy (Basic Data Partition)” should appear.
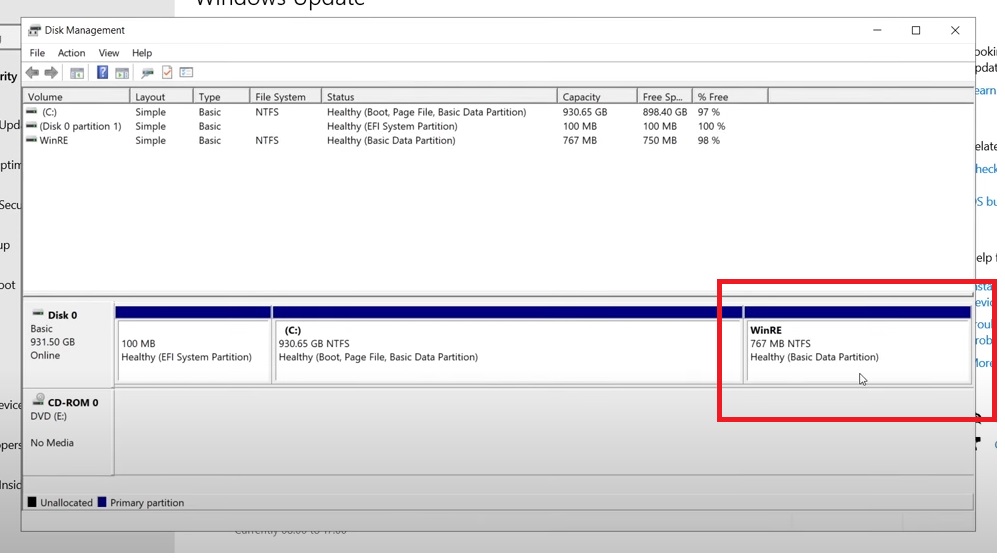
Lets go back to the command prompt to finish up there. Lets type “exit” to get out of the disk part. Then
reagentc /enable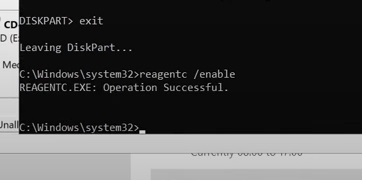
Then get out of the command prompt by typing:
exitIn order to make sure everything takes affect, lets reboot the computer.
After restarting try updating again and the updates should now install.